Agricultural Literacy Curriculum Matrix
Lesson Plan
Sunflower Life Cycles
Grade Level
Purpose
Students observe the growth and development of sunflowers, identify how sunflower seeds are used, and make a paper plate sunflower to illustrate the life cycle of the sunflower. Grades K-2
Estimated Time
Materials Needed
- Sunflower Growth Stages Pictures
- Small white paper plates – one per student
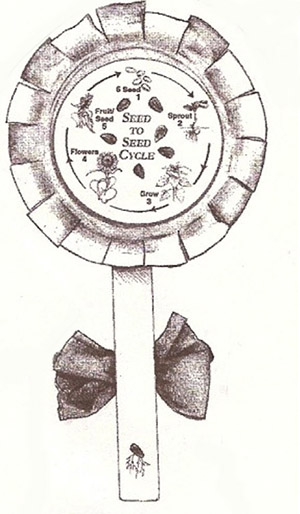
- Seed to Seed Cycle diagrams copied on orange or yellow paper – one per student
- Large craft sticks or popsicle sticks – one per student
- These can be purchased at craft stores – most sizes will work for this activity
- Sunflower seeds – at least 6 per student
- Green paper, cut into 1” pieces
- Sunflower heads or pictures of sunflower heads
- Glue and/or Tape
- Crayons
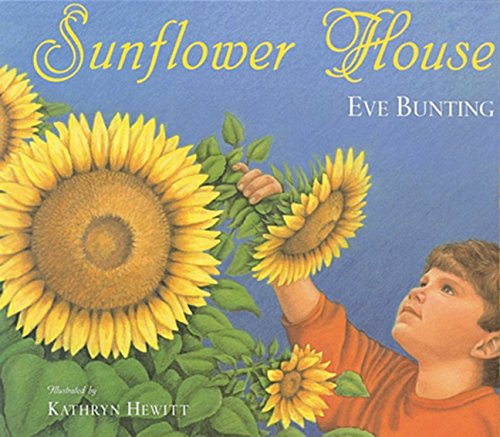
- Sunflower House by Eve Bunting
Vocabulary
life cycle: the stages a living thing goes through in its lifetime
Did You Know?
- Sunflowers are primarily grown in North and South Dakota. Several other states, such as Minnesota and California, also produce sunflowers.
- Kansas is called the Sunflower State!
- The average yield of sunflower seeds is 1,513 pounds per acre.
Background Agricultural Connections
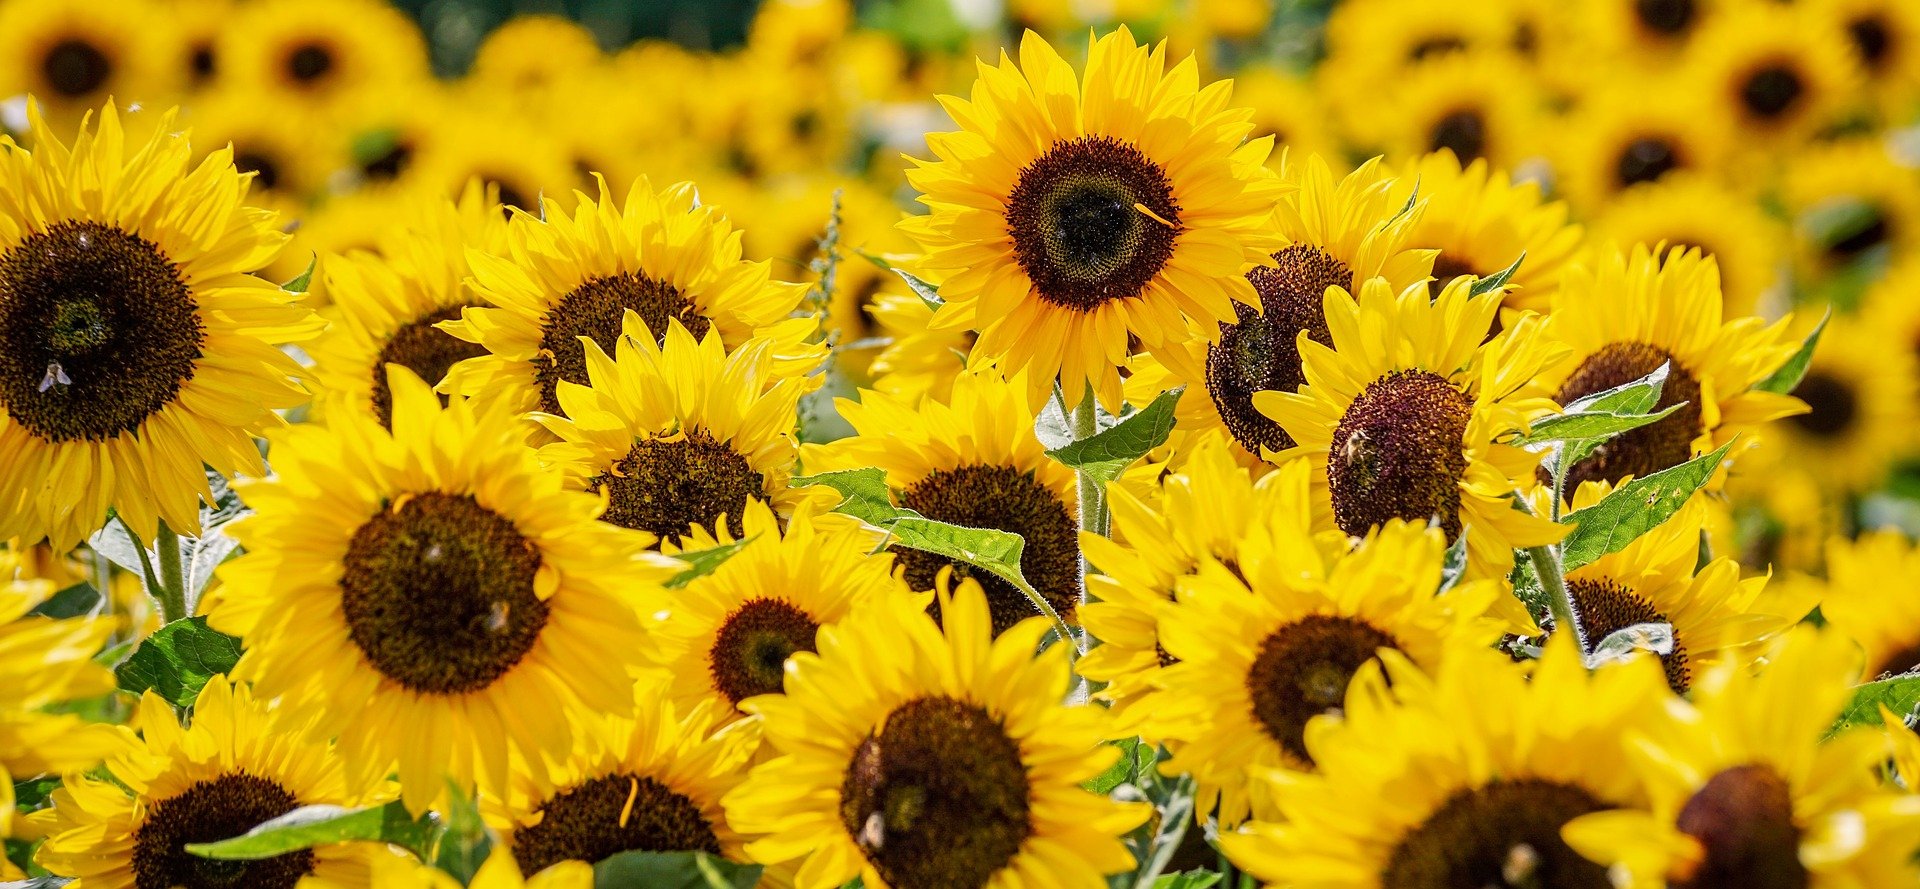
Farmers in the United States grow sunflowers. There are many varieties of sunflower. Most people recognize sunflowers as an ornamental flower in a garden or a bouquet. However, sunflowers are actually an agricultural crop that has many uses. When farmers grow sunflowers, they grow them to harvest their seeds. The seeds can be used for birdseed and livestock feed. They can also be used for snacks, toppings on salads, and cooking oil.
Sunflowers are native to North America, and are thought to have originated where the states of Arizona and New Mexico are now located. Sunflowers have a deep root system that allow them to maximize soil water. Sunflowers can be pressed for oil. Sunflower oil is a trans-fat-free vegetable oil.
Sunflowers are grown from seed. Like most crops, they are planted in the spring and harvested in the fall. Their life cycle begins and ends with a seed. The seed is planted, germinates, grows to maturity, and then flowers. The head of the flower contains many seeds. At the end of the life cycle the head of the flower becomes heavy and drops. At this time the flower is harvested and the seeds are collected for processing and either human or animal consumption.
Engage
- Tell students that you are going to give them some clues and that you want them to guess what kind of flower you are thinking of. Use all or some of these clues:
- This flower has a green stem and leaves.
- The petals of this flower are usually yellow.
- This flower can be more than 10 feet tall when it's full grown.
- This flower produces seeds that sometimes we like to eat.
- "What flower is it? (A sunflower!)
Explore and Explain
Activity 1: Sunflower Lifecycle
- Read the book, Sunflower House, by Eve Bunting to the students. As you read, Discuss with students the meaning of a “life cycle.” Point out the steps of the sunflower lifecycle as you read the story.
- Show students the Sunflower Growth Stages pictures. Show the students an actual sunflower head with the seeds inside if you can, but if not, use the pictures provided with this lesson. Go through each step of the cycle. Place the pictures on the board with tape or a magnet and leave them for the next activity.
Activity 2: Paper Plate Sunflowers
- Distribute the activity supplies.
- Glue the Seed to Seed Cycle in the middle of the paper plate, and set aside.
- Ask students what the first step in the Seed Cycle is (seed). Have students glue one sunflower seed about 1” up the craft stick, as if they were planting a seed in the ground and the stick is the stem that would grow from the seed.
- Ask students what the next step in the cycle is (sprout). Talk with them about what is needed for a seed to germinate. Have students draw roots on their craft stick below the seed with the brown crayon.
- Ask students what the next step is (grow). As the stems and leaves begin to grow, have students cut out leaves from the green paper and glue them to the stick above the seed.
- Ask students what step 4 is (flower). Have them color the white paper plate around the Seed to Seed Cycle. Use scissors to snip the plate edges to the center circle to create flower petals.
- Talk with students about step 5 (fruit). Students should glue sunflower seeds to the center of the Seed to Seed Cycle.
- Tape or glue the paper plate flower to the craft stick.
Elaborate
-
Have students work through the life cycle beginning at different starting points. You could act out each stage and play charades play pictionaryand draw each stage to review and check for understanding.
-
Read the book Seed, Soil, Sun: Earth's Recipe for Food by Cris Peterson.
Evaluate
After conducting these activities, review and summarize the following key concepts:
- Sunflowers are grown by farmers for the seeds and oil they produce.
- The life cycle of a sunflower begins and ends with a seed.
Acknowledgements
This lesson was adapted from Growing in the Garden.
Recommended Companion Resources
- Alfalfa Seeds
- Before the Plate Website
- Big Yellow Sunflower
- Flower Garden
- Garden Planner
- How Do Flowers Grow?
- Jr. Sprout - Gardening
- Miguel's Community Garden
- Oilseeds Flowchart
- Plant Secrets
- Seed, Soil, Sun: Earth's Recipe for Food
- Sunflower House
- Sunflower Life Cycle
- The Amazing Life Cycle of Plants
- The Great Pumpkin
- The Tiny Seed
- This is the Sunflower
Author
Organization
 |
We welcome your feedback! If you have a question about this lesson or would like to report a broken link, please send us an email. If you have used this lesson and are willing to share your experience, we will provide you with a coupon code for 10% off your next purchase at AgClassroomStore. |